Morgott, the Omen King
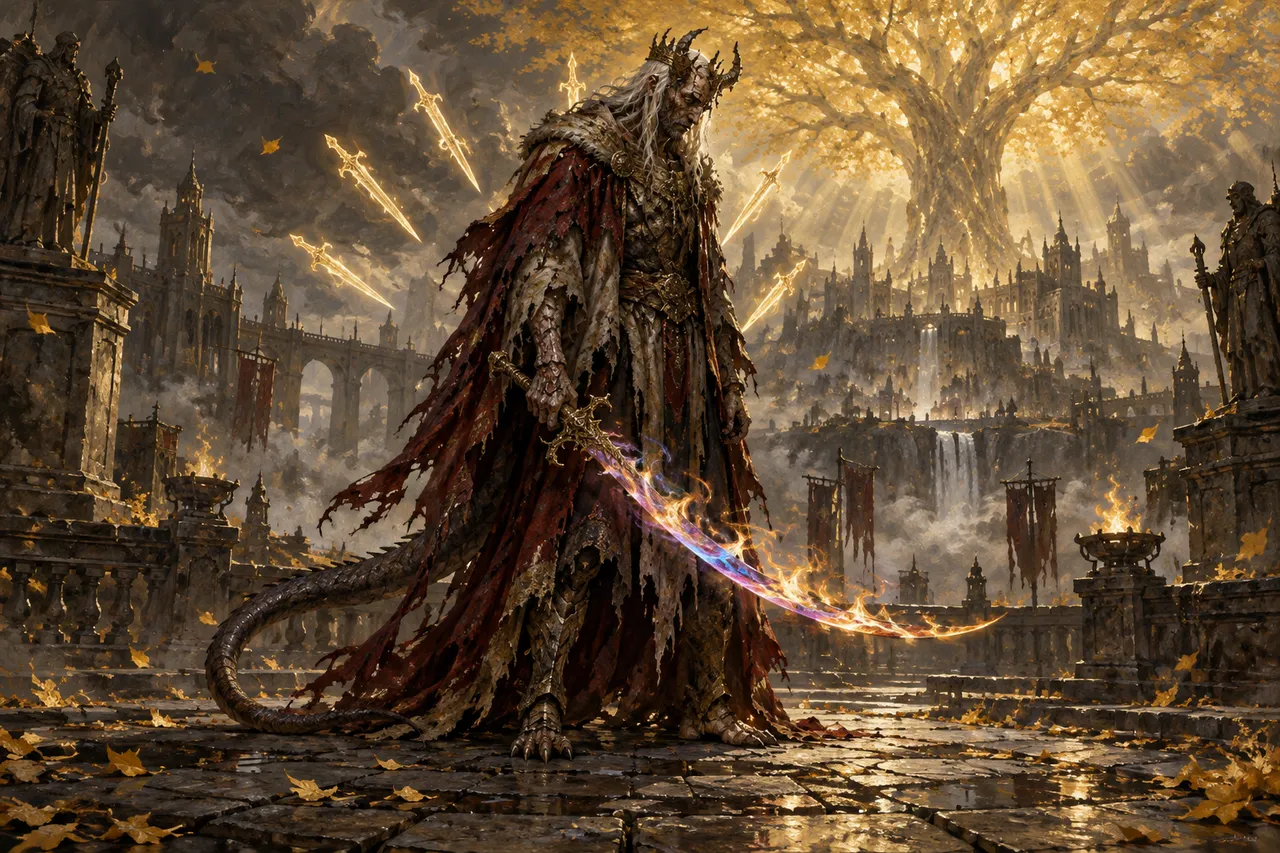
The Omen King at the Erdtree's foot, known to you as Margit: fast sequences with weapons made of light and cursed blood unleashed in the second phase.
- HP
- 10,399
- HP in NG+
- 13,030
- Stance
- 80
- Runes for the win
- 120,000
- Character level
- 70-90
Encounters
- Leyndell, Royal Capital (main encounter, Show on the map)
Damage taken
| standard | ×1 |
|---|---|
| slash | ×1.1 |
| strike | ×1 |
| thrust | ×1 |
| magic | ×1 |
| fire | ×1 |
| lightning | ×1 |
| holy | ×0.6 |
Status thresholds
| bleed | 338 |
|---|---|
| frost | 338 |
| poison | 338 |
| rot | 338 |
| sleep | 553 |
Lore
Morgott is Marika and Godfrey's son, a prince of the golden dynasty born with horns. Ordinary Omens had their horns cut off, while royal Omens kept them, but their fate was the same: the underground beneath the capital, out of sight. His twin brother Mohg grew up there with him.
The brothers drew opposite conclusions from the same childhood. Mohg accepted cursed blood as a gift and left to build his own dynasty. Morgott spent his life proving himself worthy of serving the order that hid him. When the demigods attacked each other and the capital, he held Leyndell. He ruled unseen: the citizens did not know their last king was one of those they forced underground.
This explains his grievance with his kin. To him, his siblings tore their inheritance apart while he alone remained at his post. The second phase completes the story without words: to defend the throne, Morgott must release the very blood he spent his life ashamed of, sealed within his sword. Yet the tree he does this for remains closed to him too.
Where to find
Morgott waits on the Elden Throne platform at the Erdtree entrance, deep in Leyndell. The nearest site of grace is Queen's Bedchamber. The route passes through Erdtree Sanctuary, where you must first defeat Godfrey's golden shade, then climb an enormous branch.
You cannot bypass this fight: while Morgott lives, the path to the tree and onwards into the mountains remains closed.
Fighting style
His moves are familiar from the bridge by Stormveil Castle: delayed windups, long sequences and weapons made of light appearing for a single strike. He holds the same staff, but moves faster and hardly pauses. A spear made of light for lunges and throws joins the daggers, blade and hammer.
He has little health for this stage, and his stance breaks comparatively easily. The fight is short and sharp.
Phases
Phase 1: Weapons of light
Morgott alternates staff strikes with summoned weapons: daggers thrown in a fan, swings of a blade made of light, a spear lunge and a jumping hammer strike. Many sequences end with a tail strike or turning staff blow, making his back unsafe too.
A separate move creates a rain of blades made of light. Morgott raises his hand and blades fall across the arena for several seconds. Run without stopping or rolling early: he continues attacking beneath this rain.
Attack openings follow the jumping hammer strike, the spear throw and the last strike of a long sequence.
Phase 2: Cursed blood
After losing roughly half his health, Morgott kneels and a wave of dark fluid bursts out, covering the arena. Retreat beforehand: the eruption damages and knocks you down.
The staff's shell then crumbles, revealing a sword. Its swings leave blood-flame trails in the air and on the ground that ignite after a delay, so the place he just slashed remains dangerous. Sequences lengthen, adding quick lunges and a dash across half the arena.
Weak points
Morgott matches Margit in damage resistances: slash works slightly better than usual, holy is reduced most, and everything else works unchanged.
All statuses work. Bleed, frost, poison and rot share a threshold. Unlike Margit, Morgott can be put to sleep, but the sleep threshold is higher.
His stance breaks quickly: several charged or jumping attacks in succession open him to a critical hit. With his small health pool, each removes a noticeable share of the bar.
How to win
Melee
The rules match Margit's fight: roll for the strike rather than the windup, and answer after the sequence ends. Slash weapons with bleed fit well. Bring heavy weapons for stance damage: two or three jumping attacks usually knock him down. In the second phase, move sideways from the flame trails immediately after attacking.
Magic and ranged combat
Magic, fire and lightning lose no damage; only holy incantations should be set aside. Morgott closes distance instantly, so choose quick spells and cast while an ally or spirit occupies him. Alone, alternate one spell and one roll.
Help in battle
A summon sign for Melina lies before the fog gate if she remains your companion: she heals you and draws Morgott's attention. Mimic Tear Ashes is a suitable ash.
Margit's Shackle also works: in the first phase, it pins him down just as before, providing a free opening.
Tips
- Habits from the first fight still work: do not roll backwards or get greedy midway through sequences.
- Run beneath the blade rain and watch Morgott rather than the sky.
- When he kneels, withdraw: the phase change starts with an eruption.
- In the second phase, leave the spot his sword just passed through: the flame ignites late.
- Haligdrake Talisman and Holyproof Dried Liver help against holy damage.
- Use the shackle early: it no longer works in the second phase.
After the fight
You receive runes, Morgott's Great Rune and Remembrance of the Omen King. Activate the rune at Divine Tower of East Altus. The remembrance exchanges for Morgott's Cursed Sword or Regal Omen Bairn.
A site of grace appears by the throne, but thorns block the Erdtree entrance. After speaking to Melina, you receive Rold Medallion and a new objective: travel into the mountains towards Forge of the Giants.